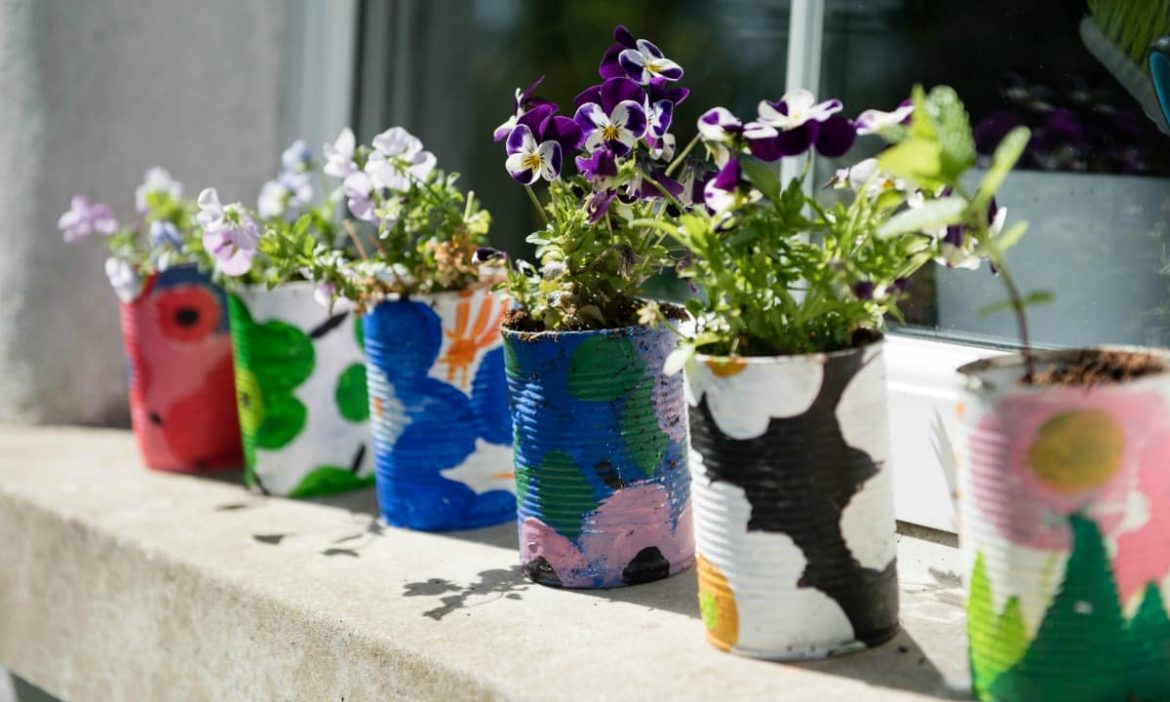
Do you often find yourself recycling or discarding cans? Instead of throwing them out, reuse them to make practical herb or flower pots. Kids will be excited to grow their own flowers or plants, and they will love personalizing the can with colorful paper scraps or paint. These cute planters are a great way to teach kids how to reuse things in new ways.
Recycled Tin Can Planters Tutorial
Adult supervision is required for this craft, as even coffee cans may have sharp edges. To create a unique miniature flower pot, you’ll need the following materials:
Craft Supplies:
- An empty aluminum or tin can
- Nail and hammer or a screwdriver
- Scraps of decorative paper or fabric
- Decoupage glue, such as Mod Podge
- A paintbrush or sponge-tipped applicator
- Spray paint, acrylic paint, colored pencils, crayons or markers
- Glitter (optional)
- Potting soil
- Herb / flower seeds or small plants
SAFETY TIP:
The idea of this craft is reuse a used tin can from your recycling bin. This means the top of the can will likely already have been removed using a can opener. Therefore you should use care and realize the can may have sharp edges where it has been cut open. It is best to use safety or smooth-edge can openers when possible. If there are any rough edges around the opening of the can, sand them to a smooth finish with a metal file.
How To Make DIY Tin Can Flower Pots
The first thing you will do is select the cans you would like to use as DIY planters.
Thoroughly wash and dry the can or cans you intend to use as tin can planters.
Create drainage holes in the bottom of the can by pounding a nail or a screwdriver into the surface with a hammer. Small holes can also be created in the bottom of the can by using the sharp end of a traditional church key bottle opener.
To enhance the earth-friendly appeal of this craft project, use recycled paper. You can use brown paper from grocery or lunch bags or wrapping or tissue paper saved from your last celebration. Instead of paper, you can even use scraps of fabric cut from clothing you’re planning on donating.
Cut scraps of paper or fabric to fit around the can. You can measure and cut a rectangle to fit around the can perfectly or tear the paper into small pieces and create a collage. Decorate the paper however you wish. You can create colorful designs on the paper with rubber stamps or draw designs with markers, paint or crayons. Alternatively, you can also paint directly onto the tin can flower pots.
To adhere the paper or fabric to the can, spread a substantial layer of Mod Podge decoupage glue over the entire can. Smooth the paper or fabric over the can, and then coat it with another layer of decoupage glue. Continue to add scraps, layering them with glue, until you have achieved the look you want. For added flair, sprinkle glitter on the wet glue. Let the can dry for at least 24 hours.
Once the glue has dried, fill the can with potting soil.
Plant a few seeds in the soil and place the can in a sunny location. Water as needed and watch your new plant flourish. Alternatively, you can plant some real flowers of a small variety like the Johny jump-ups below or even use them as succulent planters.

Tin Can Plant Pots Conclusion
As a final touch, you may want to write the name of the plant on the outside of the DIY tin can planters with paint. Other tin can planter ideas include tying a bow around the can with jute twine or even making knit planter covers. So many fun ideas to decorate your tin planters!
This inexpensive project is a cute way to fill your kitchen window sill or your front porch. Personalized tin can pots make sweet arrangements, especially when a variety of sizes are combined. Combine 28-ounce tomato cans, 15-ounce cans of beans, and cans of tuna to create interest. These tin can planters look adorable lined up on a windowsill soaking up the spring sunlight or as a refreshing centerpiece for a dinner party.

